
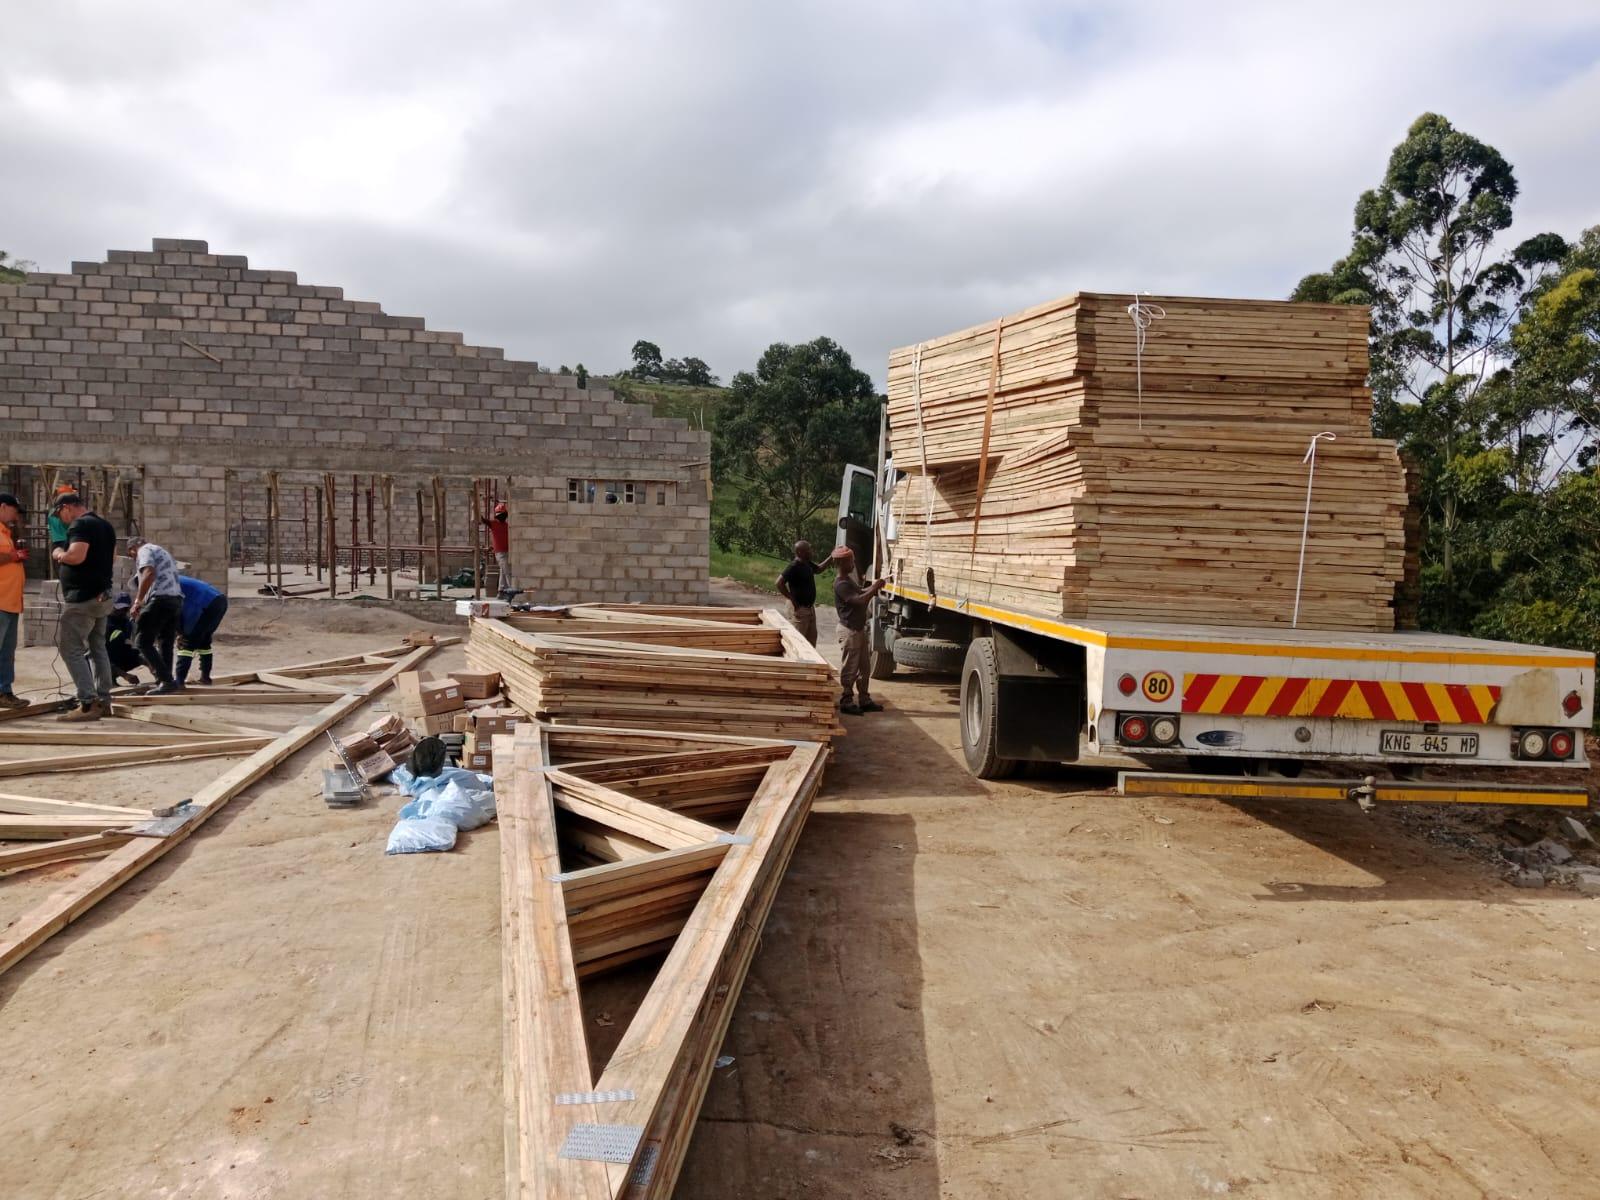
How far apart should roof trusses be? What pitch does a tiled roof need? How should trusses be braced and tied down? These are some of the most common questions we get from homeowners and builders, and the answers come mainly from SANS 10400-L, the part of the building regulations that covers roofs.
This guide summarises the key numbers in plain language. Always follow the layout and bracing drawings supplied with your engineered trusses: where they differ from the general rules below, the design for your roof takes priority.
Roof truss spacing
Truss spacing is measured centre to centre. The heavier the roof covering, the closer the trusses need to be. For roofs that follow the deemed-to-satisfy rules in SANS 10400-L, the maximum spacings are:
| Roof covering | Supported on | Maximum truss spacing |
|---|---|---|
| Concrete or clay tiles, slate | Battens | 760 mm |
| Metal tiles | Battens | 1,000 mm |
| Metal sheeting (IBR, corrugated) or fibre-cement sheets | Purlins | 1,200 mm |
Very heavy tiles may need closer spacing still. Engineered trusses can be designed at other spacings, but only if the truss designer has allowed for it. Never space trusses further apart than the layout drawing shows.
Why spacing matters
- Battens and purlins are sized for a particular span between trusses. Spread the trusses further and they can sag or break.
- Each truss is designed to carry the roof area between it and its neighbours. Wider spacing means more load on every truss.
- Ceilings fixed to the bottom chords also depend on correct spacing.
Roof pitch
Pitch is the angle of the roof slope. Every covering has a range it is designed for. The deemed-to-satisfy rules in SANS 10400-L use these ranges:
| Roof covering | Pitch range |
|---|---|
| Concrete or clay tiles, slate | 17.5° to 35° |
| Metal tiles | 15° to 30° |
| Metal or fibre-cement sheeting | 15° to 30° |
Some sheeting profiles can be laid at much lower pitches when the roof is engineered and the manufacturer’s instructions are followed. Tiles laid too flat, below the range the manufacturer allows, are a common cause of leaks.
Pitch also affects cost. Roofs of roughly 20° to 25° tend to be the most economical to build. See our roof truss price guide for more.
Bracing
Individual trusses are designed to carry load in their own plane. On their own, a row of trusses would fold over like dominoes. Bracing ties them together into a stable roof that can resist wind and the forces from the covering.
The main types of bracing
- Top chord diagonal bracing: timber members fixed diagonally across the underside of the top chords, usually at about 45°, running from the wall plate up towards the apex.
- Longitudinal bracing: continuous members running the length of the roof, for example along the bottom chords and at the apex, to keep trusses at the correct spacing and stop them buckling.
- Web bracing: braces fixed to long internal webs where the truss design calls for it.
- Gable and hip bracing: extra bracing at the ends of the roof, which take the brunt of wind loads.
Your truss supplier should give you a bracing layout as part of the design. Follow it exactly, and fix every brace to every truss it crosses with the specified nails or bolts.
Anchoring trusses to the walls
Wind does not only push on a roof, it also tries to lift it. SANS 10400-L requires roof trusses to be tied down to the supporting walls with galvanised steel straps or wires built into the walls. The tie-down must go deep enough into the brickwork to resist uplift, as shown in the regulations and your truss drawings.
Missing or poorly built-in tie-downs are one of the most common reasons roofs are damaged in storms. They are cheap to install during the build and very expensive to fix later.
Timber requirements
- Grade: structural softwood of at least grade 5, with the grade stamp visible on each member.
- Treatment: preservative treatment is required in coastal areas and where termites or borer are a risk.
- Condition: no damaged, split or heavily twisted members. Store trusses flat or upright and supported, off the ground, until they go up.
Common on-site mistakes to avoid
- Spacing trusses wider than the drawings to “save a truss”.
- Leaving out bracing or fixing it with too few nails.
- Not building tie-down straps or wires into the walls before the wall plate.
- Cutting webs or chords to fit a geyser, duct or attic hatch.
- Adding solar panels or a water tank without checking the design.
- Lifting trusses by one end or dropping them, which can loosen nail plates.
For the full compliance picture, including who signs the roof off, read our guide to roof truss regulations in South Africa.
Frequently asked questions
What is the standard roof truss spacing in South Africa?
For tiled roofs, trusses are typically spaced at a maximum of 760 mm centres. For metal or fibre-cement sheeting on purlins, the maximum under the deemed-to-satisfy rules is 1,200 mm. Always follow the spacing on your engineered layout drawing.
What is the minimum pitch for a tiled roof?
Under the SANS 10400-L deemed-to-satisfy rules, tiled roofs range from 17.5° to 35°. Check the tile manufacturer’s minimum pitch for your chosen tile, as some profiles need steeper slopes.
Do roof trusses need to be tied down?
Yes. Trusses must be anchored to the walls with galvanised straps or wires built into the brickwork so the roof can resist wind uplift.
Who installs the bracing?
The roof erector installs the bracing as part of erecting the trusses, following the supplier’s bracing layout. The engineer then checks it before the roof is signed off.
Can trusses be spaced at 1.2 m under tiles?
Not under the standard rules. Tiles need trusses at 760 mm centres or closer unless an engineer designs a different system.
Get trusses designed for your roof
Every Truss Master roof comes with a full layout, truss designs and bracing details, designed on MiTek software for your covering and pitch. Send your plans to your nearest branch for a free quote and 3D roof design. You can also learn about the different types of roof trusses before you start.
